Setup#
If you are new to Python development, I would suggest setup on Google Colab. If you are an experienced Python developer, you can set up on Local.
Google Colab#
Access Colab and install packages#
Visit Google Colab and login with your email id.
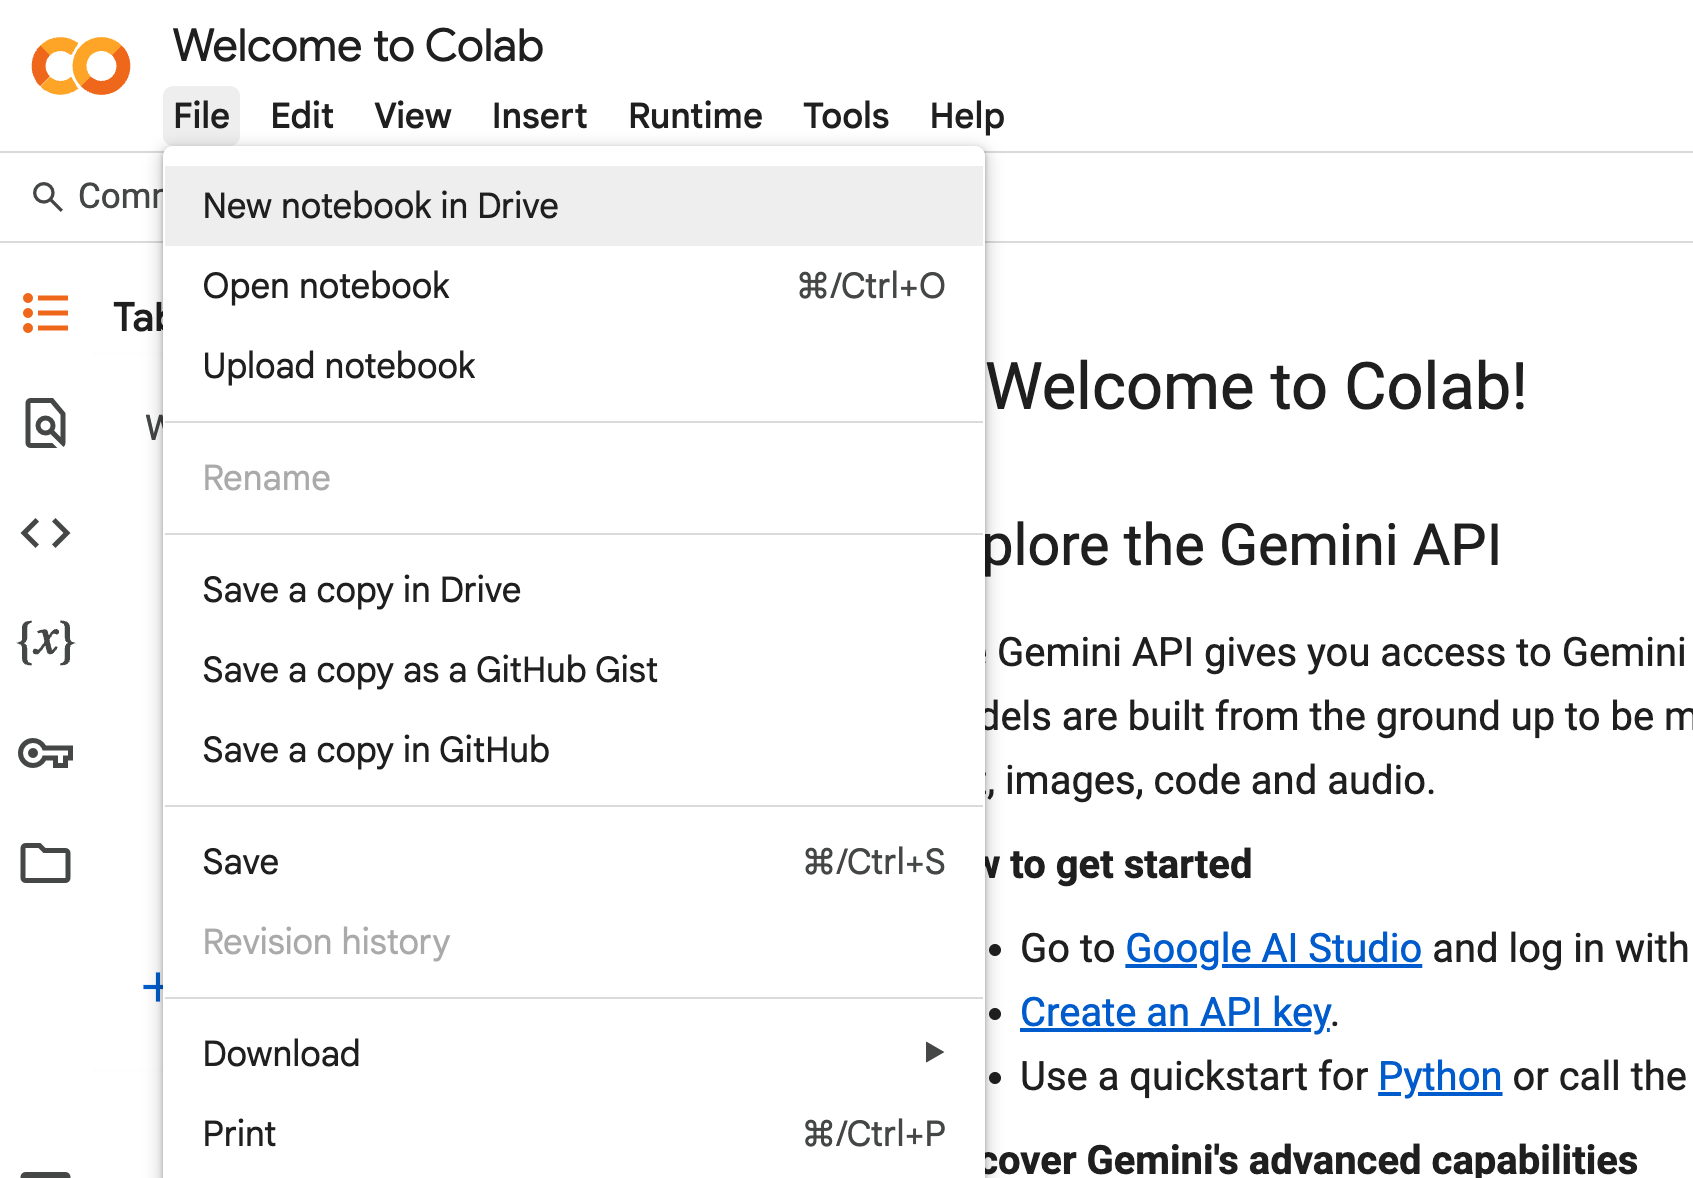
Click on File and then New notebook in Drive
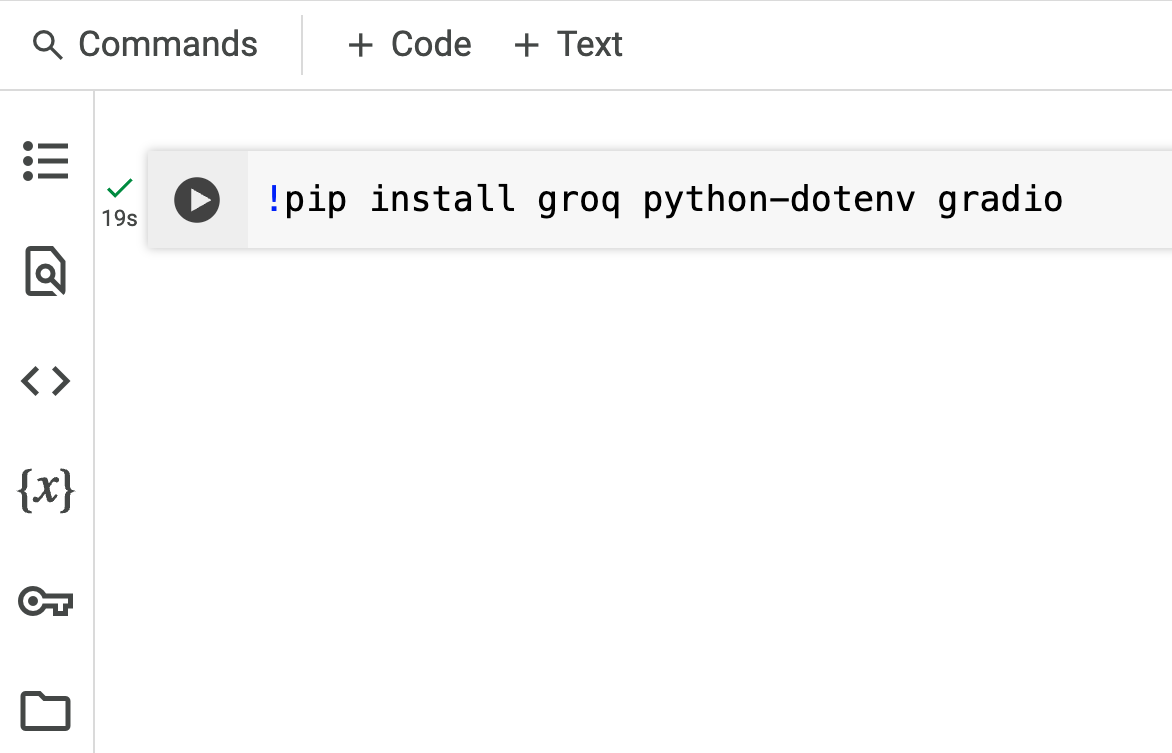
In the first code cell of your notebook, type the following command and execute it with CTRL + ENTER (Notice the “!” at the beginning, which is also to be copied)
!pip install groq python-dotenv gradio
Setup Groq API key#
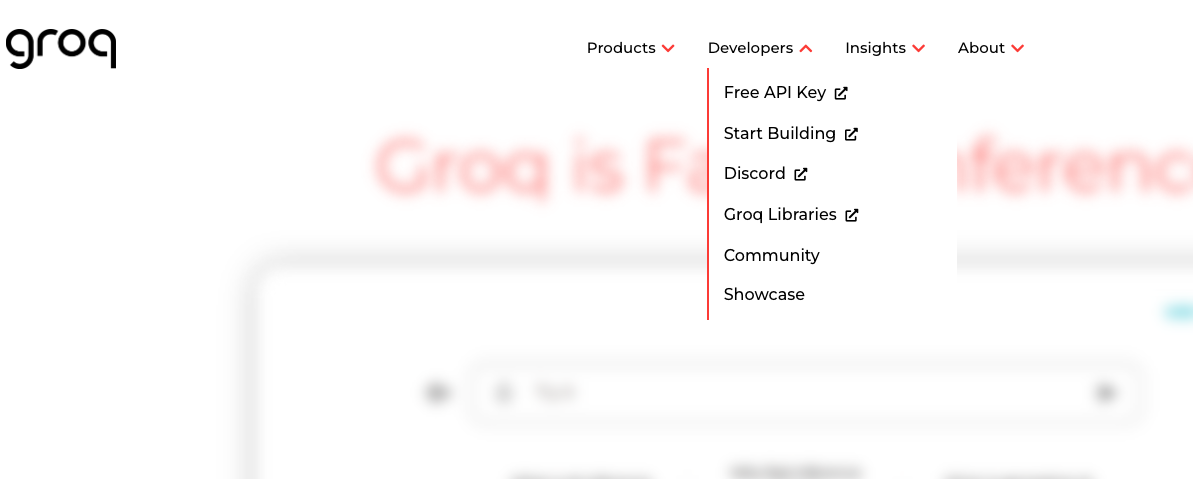
Visit the Groq Website
Go to Developers and then click on Free API Key
Login with your email id
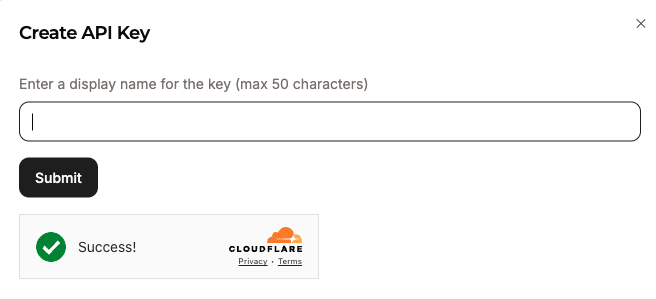
Click on Create API Key

Enter a name. For example GenAICourse.
Copy the API key. Never share this with anyone.
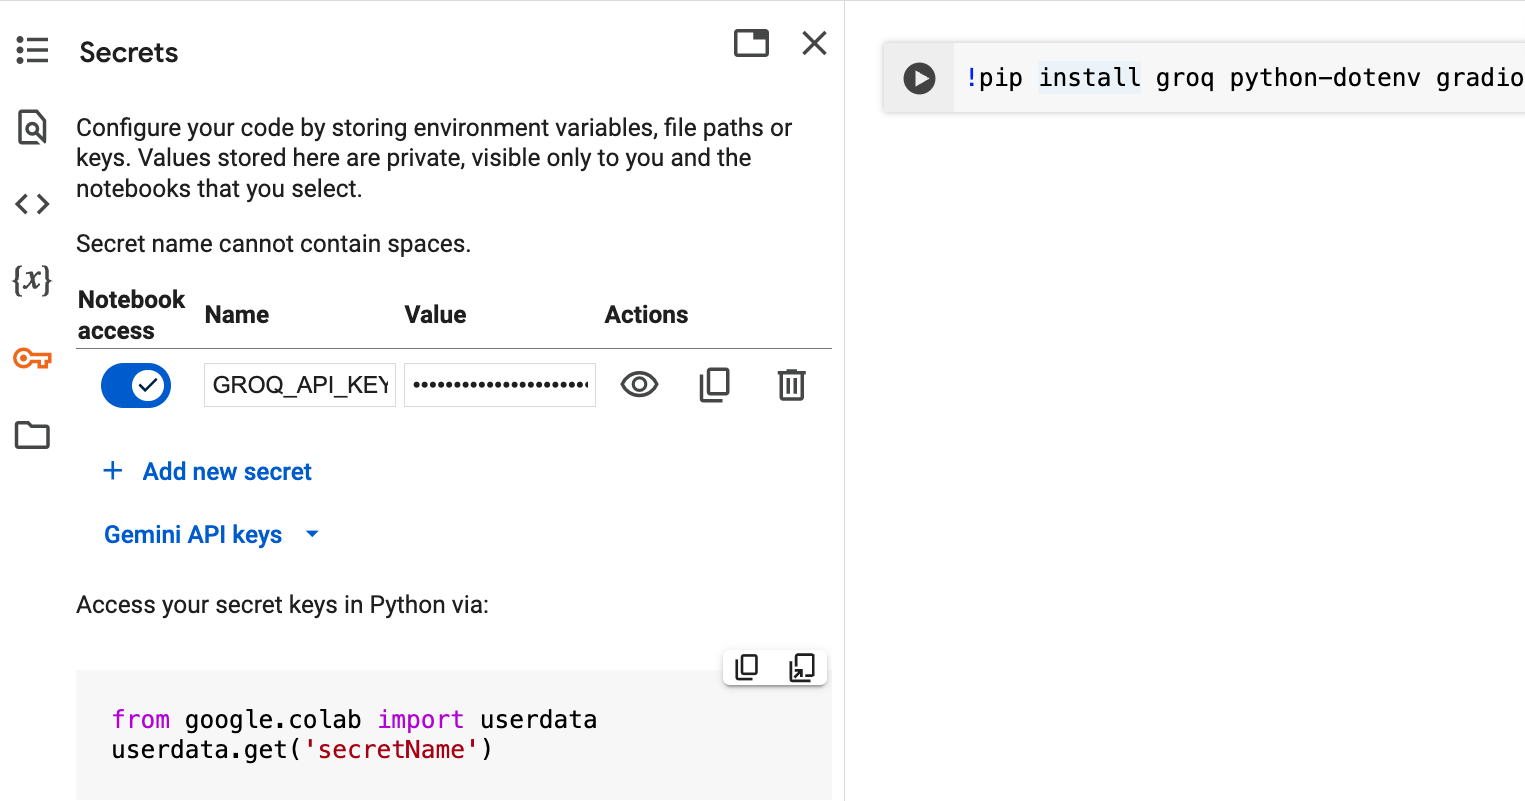
In your Colab notebook, click on the key symbol, and then on Add new secret
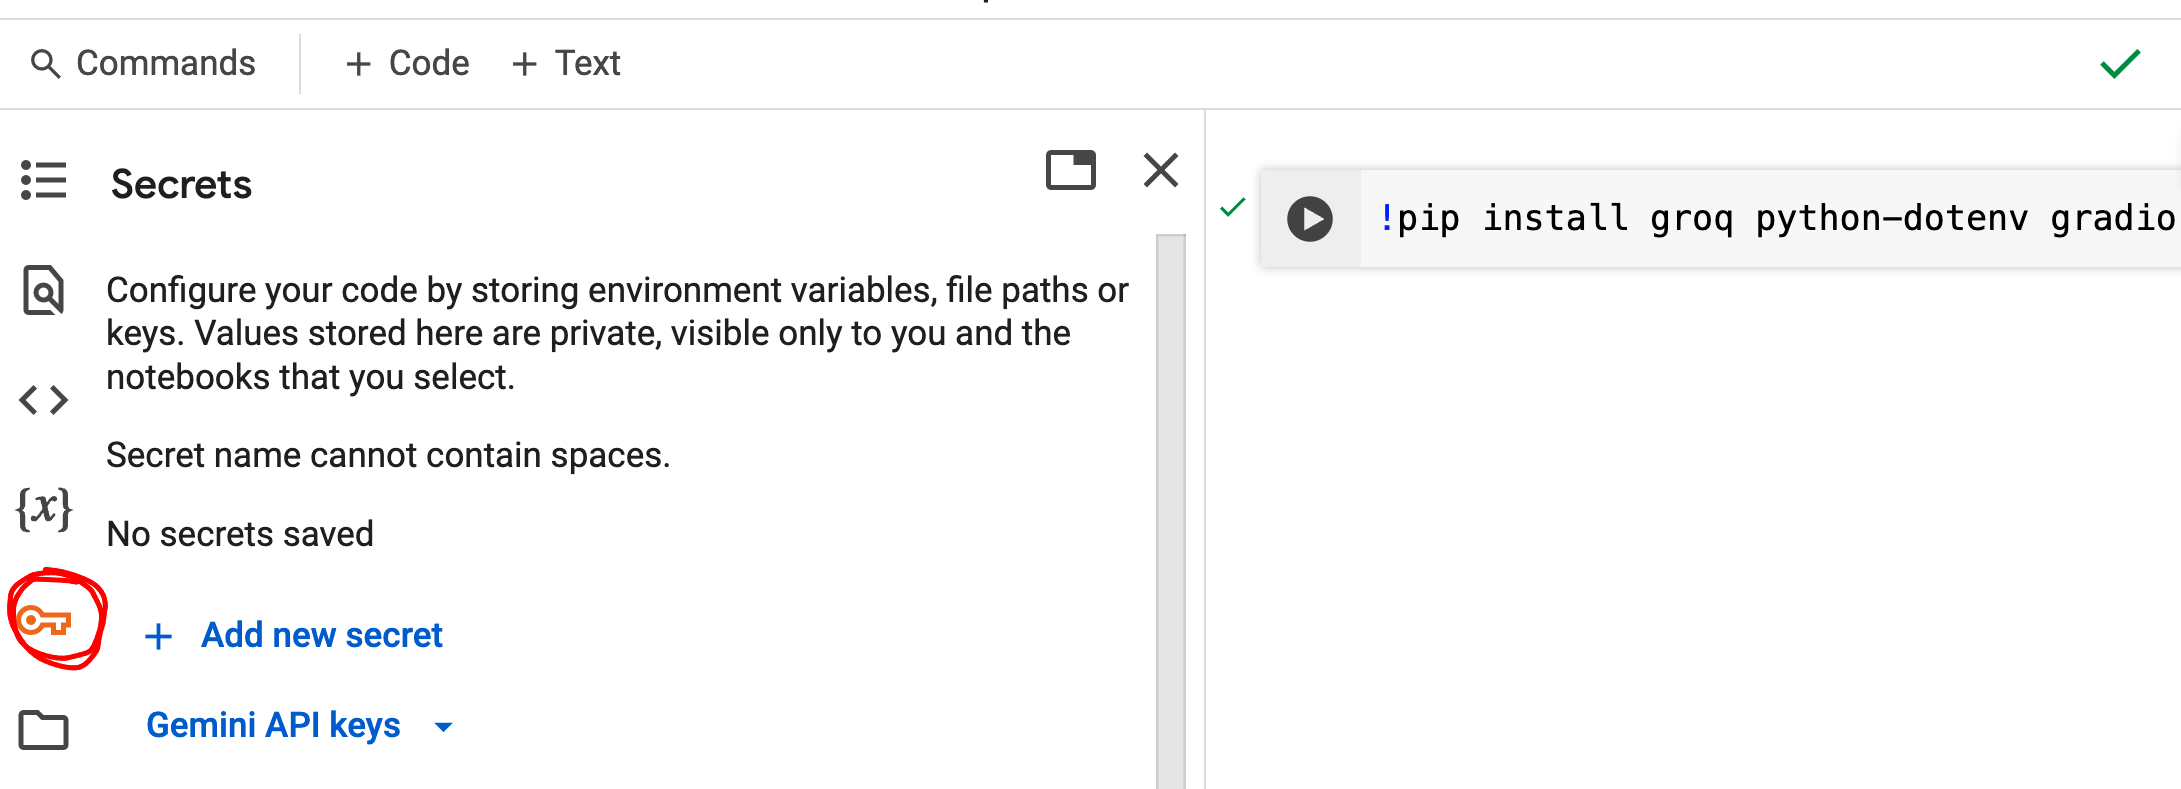
Add GROQ_API_KEY as NAME and put the API key that was copied from Groq website as the VALUE. Provide Notebook Access
To verify the setup, copy this code in a new cell and and execute it.
from groq import Groq
from google.colab import userdata
groq_api_key = userdata.get('GROQ_API_KEY')
client = Groq(api_key=groq_api_key)
response = client.chat.completions.create(
    model="llama3-8b-8192",  # A basic model to test with
    messages=[
        {"role": "user", "content": "Say hello world"}
    ]
)
print(response.choices[0].message.content)
You should have Groq up and running on your Colab after this.
Build your first chatbot#
Put the contents of this code in a new cell and run
import gradio as gr
from groq import Groq
groq_api_key = userdata.get('GROQ_API_KEY')
MODEL = "llama-3.3-70b-versatile"
client = Groq(api_key=groq_api_key)
system_message = "You are a helpful assistant"
def chat(message, history):
history = [{"role": msg["role"], "content": msg["content"]} for msg in history]
messages = (
[{"role": "system", "content": system_message}]
+ history
+ [{"role": "user", "content": message}]
)
stream = client.chat.completions.create(model=MODEL, messages=messages, stream=True)
response = ""
for chunk in stream:
response += chunk.choices[0].delta.content or ""
yield response
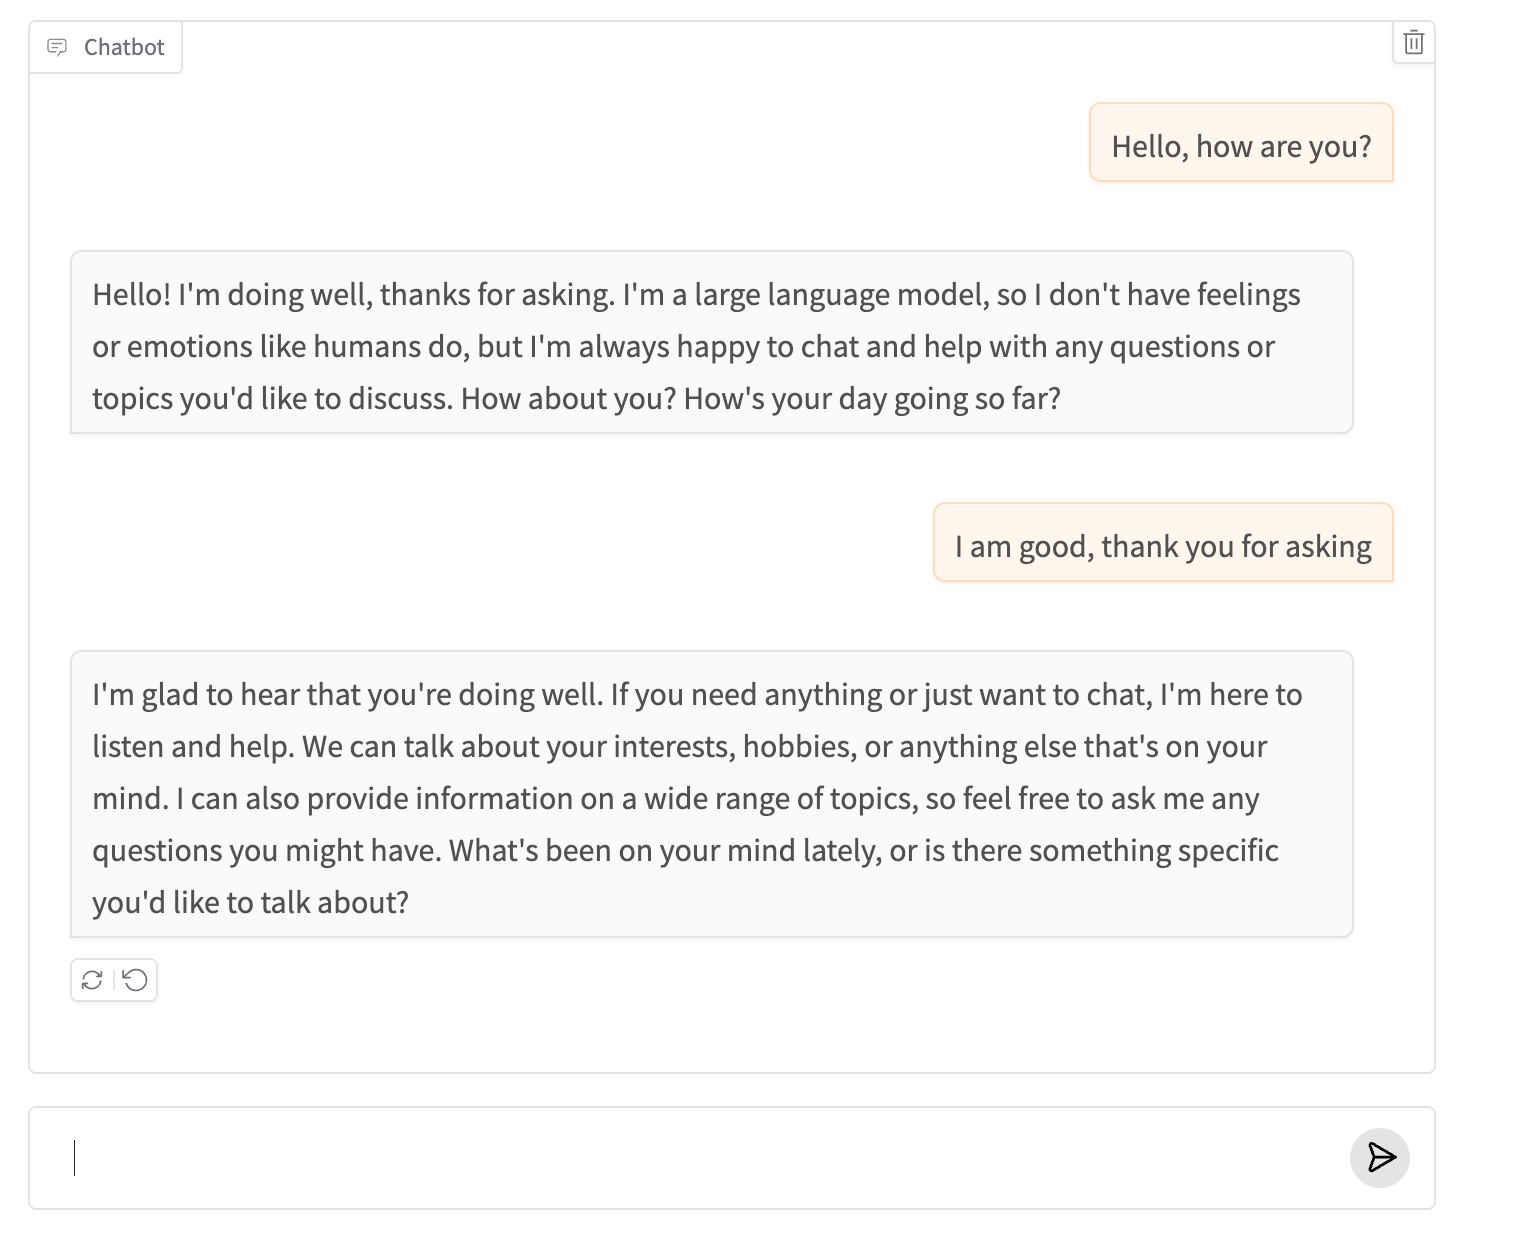
gr.ChatInterface(fn=chat, type="messages").launch()
You will get a message like this, which has a link that can be opened in a browser. Colab may even embed that chatbot for you.
Running Gradio in a Colab notebook requires sharing enabled. Automatically setting `share=True` (you can turn this off by setting `share=False` in `launch()` explicitly).

Colab notebook detected. To show errors in colab notebook, set debug=True in launch()
* Running on public URL: https://a42****.gradio.live

This share link expires in 72 hours. For free permanent hosting and GPU upgrades, run `gradio deploy` from the terminal in the working directory to deploy to Hugging Face Spaces (https://huggingface.co/spaces)
Local#
If you have a local python development environment set up already, you can do the following.
Install packages#
In the activated environment, run this script to install relevant python packages.
Run this in your terminal
pip install groq dotenv gradio
Setup Groq API key#
To access models from the groq inference enginer, we need their API key.
Visit Groq’s platform and create an account if you don’t have one
Navigate to the API Keys section
Click “Create API Key”
Copy your API key to a secure location
Create a file whose filename is “.env”. Add you GROQ_API_KEY. Never expose this to anyone.
GROQ_API_KEY="your-api-key-here"
Create a python file, call it verify_groq.py
from dotenv import load_dotenv
from groq import Groq

load_dotenv()
client = Groq()
response = client.chat.completions.create(
    model="llama3-8b-8192",  # A basic model to test with
    messages=[
        {"role": "user", "content": "Say hello world"}
    ]
)

print(response.choices[0].message.content)
Properly securing your API key is important. Never commit API keys to public repositories
Our directory so far#
Our directory structure should look like this now.
📁 genai_course
├── 📄 verify_groq.py
├── ⚙️ .env
│   └── 🔑 GROQ_API_KEY="your-api-key-here"
Build your first chatbot#
Put the contents of this code in app_chatbot.py
from dotenv import load_dotenv
import gradio as gr
from groq import Groq

load_dotenv()
MODEL = "llama-3.3-70b-versatile"
client = Groq()
system_message = "You are a helpful assistant"

def chat(message, history):
    history = [{"role": msg["role"], "content": msg["content"]} for msg in history]
    messages = (
        [{"role": "system", "content": system_message}]
        + history
        + [{"role": "user", "content": message}]
    )
    stream = client.chat.completions.create(model=MODEL, messages=messages, stream=True)
    response = ""
    for chunk in stream:
        response += chunk.choices[0].delta.content or ""
        yield response

gr.ChatInterface(fn=chat, type="messages").launch()
In your activated environment, run the following command.
Run this in your terminal
python app_chatbot.py
You might see an output like this
* Running on local URL:  http://127.0.0.1:7860

To create a public link, set `share=True` in `launch()`.
Open your browser and type in the local url. You have your first chatbot up and running.